BTW, you are doing phenomenal work. I have to say everything appears professionally done, and your workshop leaves NOTHING to be desired, except it's yours and not mine. I wasn't being critical, just wanted to make sure I did not misunderstand the adjustable pole pieces. I read that they were to allow for string height variations on setup, to get even output to the coils.
Dan
Star Swirl *** 1st build
-
panther

- Top Producer
- Posts: 817
- Joined: Tue May 03, 2011 8:31 pm
- Location: Anza, California
Re: Star Swirl *** 1st build
"The More People I Meet, The More I Miss My Dog"
-
cmiller0034
- Top Producer
- Posts: 221
- Joined: Tue Oct 15, 2013 1:44 pm
- Location: Louisville, Ky
Re: Star Swirl *** 1st build
panther wrote:BTW, you are doing phenomenal work. I have to say everything appears professionally done, and your workshop leaves NOTHING to be desired, except it's yours and not mine. I wasn't being critical, just wanted to make sure I did not misunderstand the adjustable pole pieces. I read that they were to allow for string height variations on setup, to get even output to the coils.
Dan
Thank you Dan you were absolutely right about the Pole pieces. Positive criticism is ALWAYS welcome. Hear others input is the best way for me to learn. And a major reason why I post my progress on the forum. I value the feedback from you guys. Just trying to do this thing justice and learn along the way.
Also, I made a mistake about the number of windings they were absolutely around 10,000, I was just exhausted the other night and miss-remembered the counter on my winding device. (I was up all night) How do I know, you ask? I just wound my second coil with a design improvement. Check it out.


7,500 winds gave me around 8.6k ohms on my second pup. This should give me a good Neck Pickup I suspect.
Also added that Anchor for my Grounding lead into the copper-lined base plate Creating a strong physical connection to my lead wires. A GREAT improvement.


(improved design up top)

If these sound as good when they are finished as I hope, I might build quite a few of these this summer. Test out some design ideas. Also, I might have a bead on some better Phillips head Screws (I hate the single slots but I found a small box of em' Im using).
"If the women don't find you handsome, they should at least find you handy."- a wise man
-
cmiller0034
- Top Producer
- Posts: 221
- Joined: Tue Oct 15, 2013 1:44 pm
- Location: Louisville, Ky
Re: Star Swirl *** 1st build
I have not done much work on the guitar other than working on Pickups. Been to busy attending some AWESOME surf shows.
what I recorded this past weekend. There is some Mosrite action in there too. I got to show off my neck to some of the guys. Got alot of positive feedback from the surfguitar101 community.
http://www.youtube.com/playlist?list=PLPLmuSFgeP0pHz6QJ_FfRIxTremLqbL_v
what I recorded this past weekend. There is some Mosrite action in there too. I got to show off my neck to some of the guys. Got alot of positive feedback from the surfguitar101 community.
http://www.youtube.com/playlist?list=PLPLmuSFgeP0pHz6QJ_FfRIxTremLqbL_v
"If the women don't find you handsome, they should at least find you handy."- a wise man
-
cmiller0034
- Top Producer
- Posts: 221
- Joined: Tue Oct 15, 2013 1:44 pm
- Location: Louisville, Ky
Re: Star Swirl *** 1st build
Completed my sewing machine pickup winder and I'm making use of it
http://www.mosriteforum.com/forum/viewtopic.php?f=20&t=6277
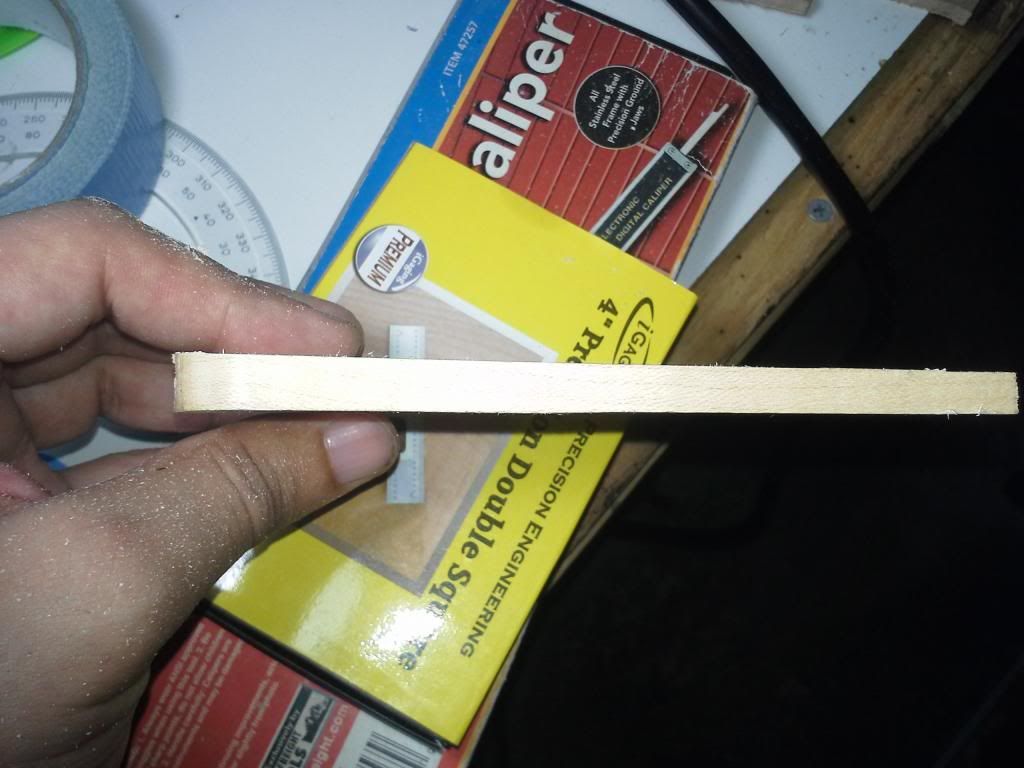
I have a feeling of dread when it comes to shaping the back neck, so I'm still putting it off. Made a template and a few pick guards this afternoon.
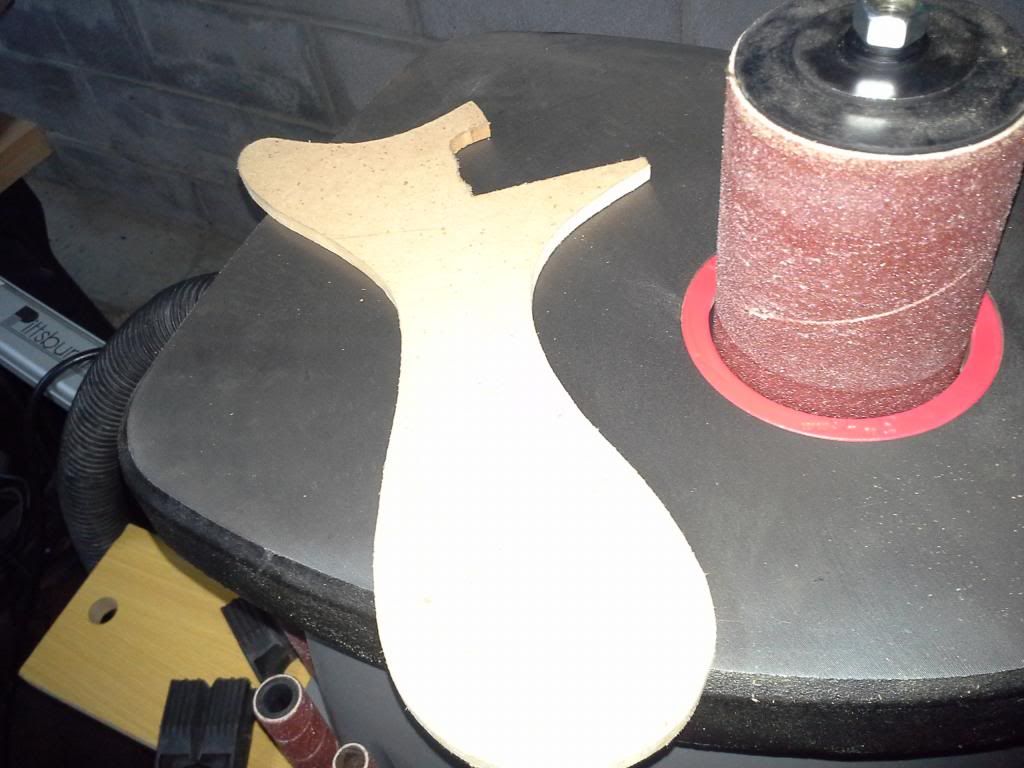
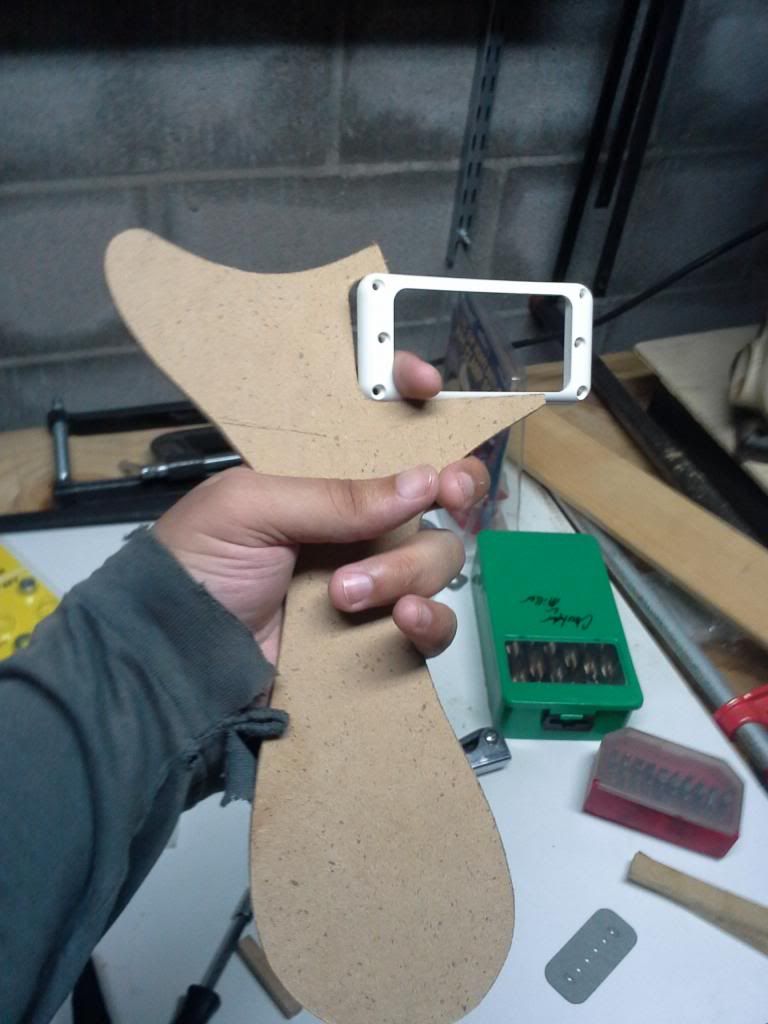
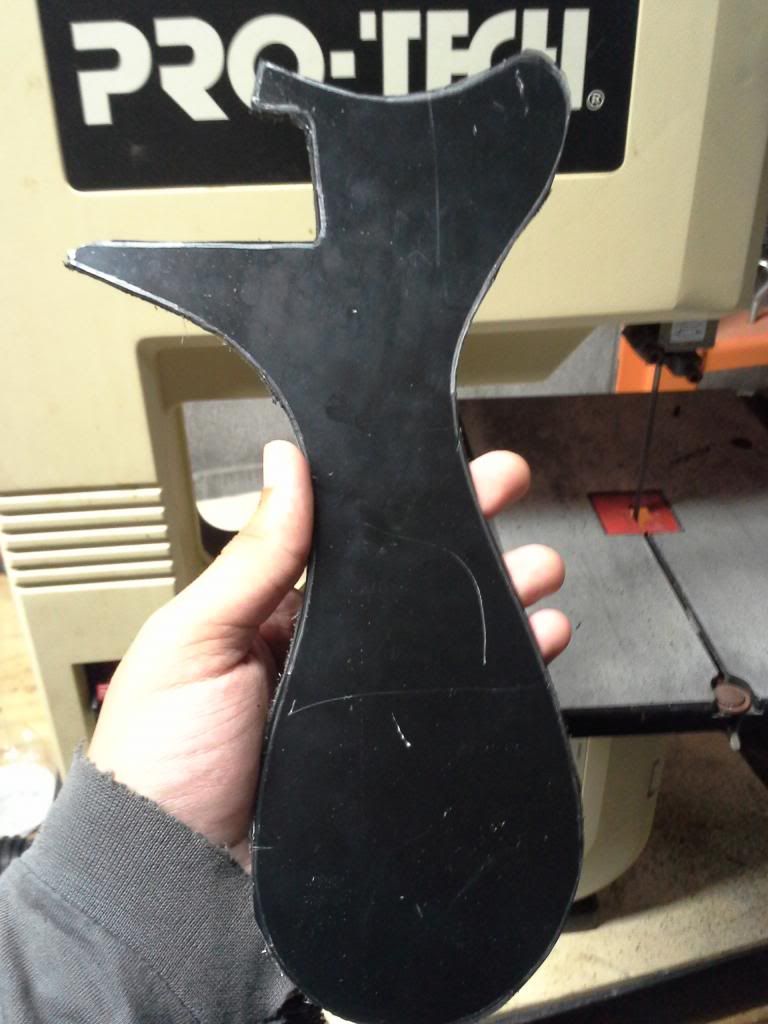
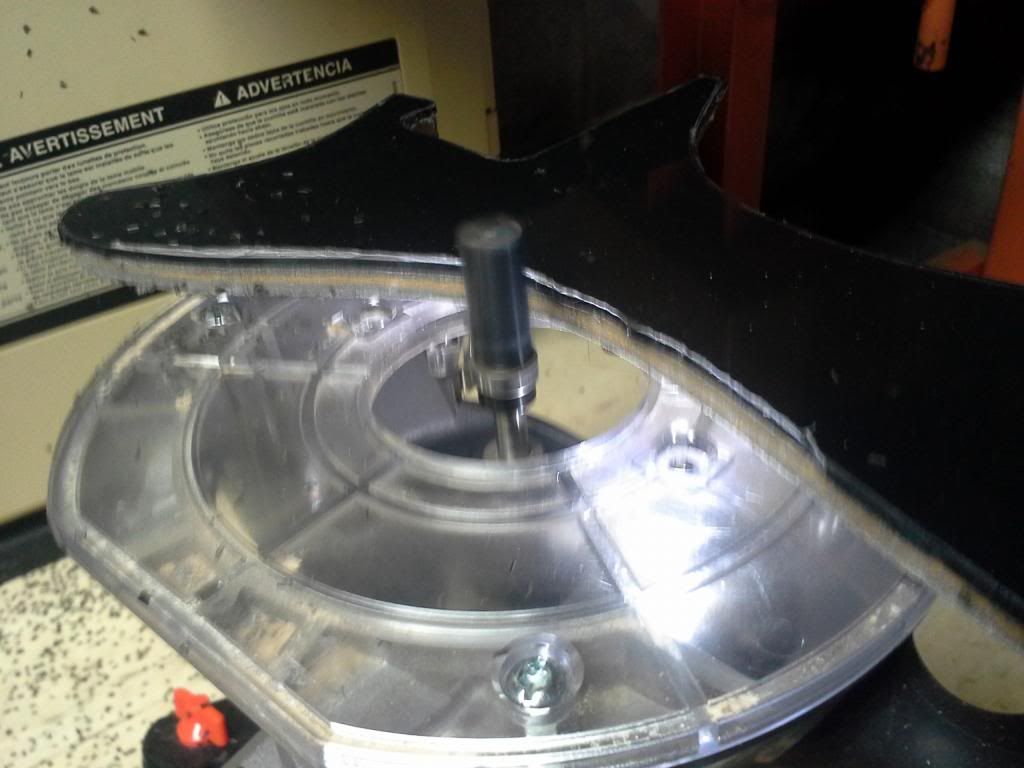
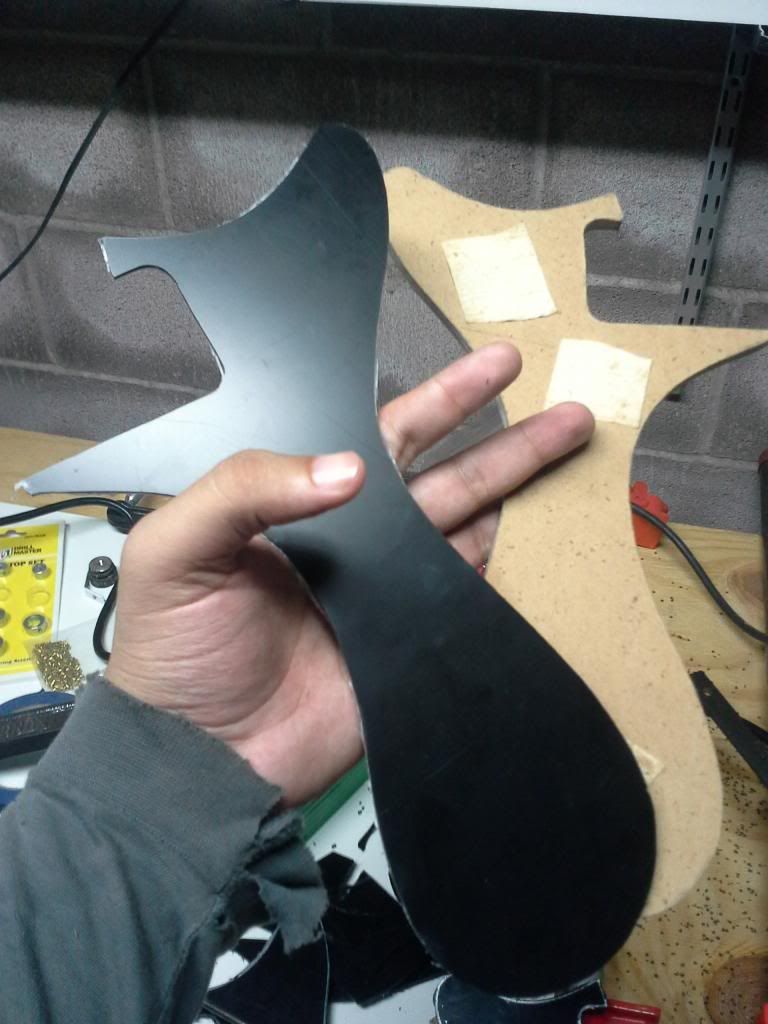
They turned out OK I think.
http://www.mosriteforum.com/forum/viewtopic.php?f=20&t=6277
I have a feeling of dread when it comes to shaping the back neck, so I'm still putting it off. Made a template and a few pick guards this afternoon.


They turned out OK I think.
"If the women don't find you handsome, they should at least find you handy."- a wise man
-
cmiller0034
- Top Producer
- Posts: 221
- Joined: Tue Oct 15, 2013 1:44 pm
- Location: Louisville, Ky
Re: Star Swirl *** 1st build
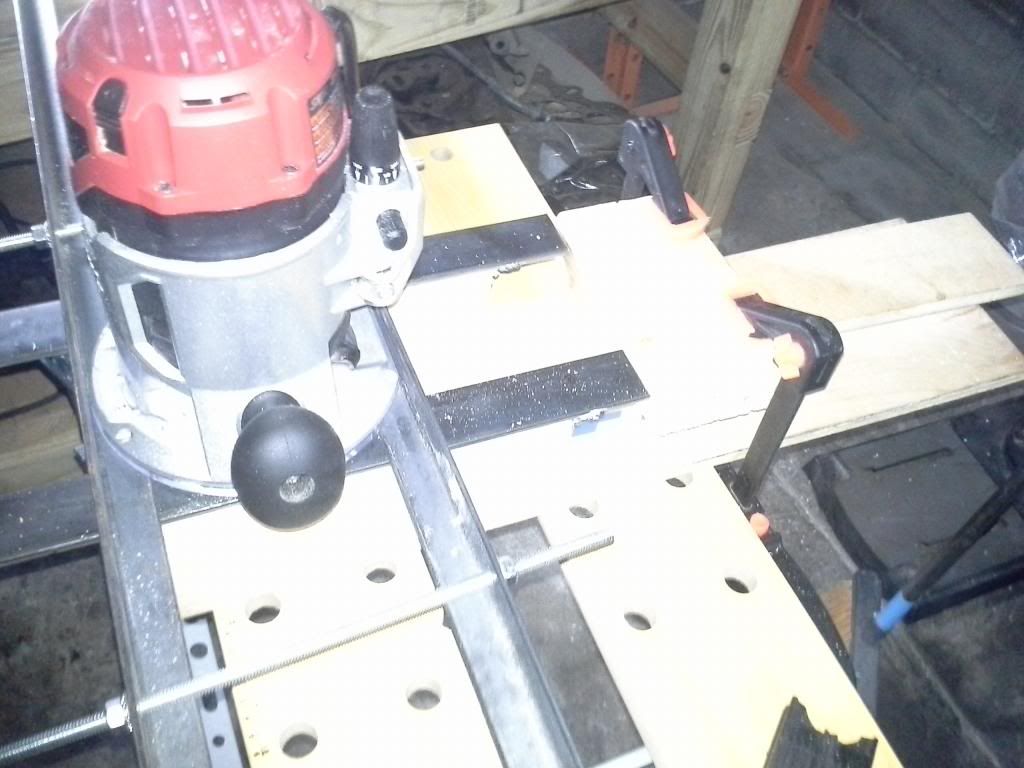
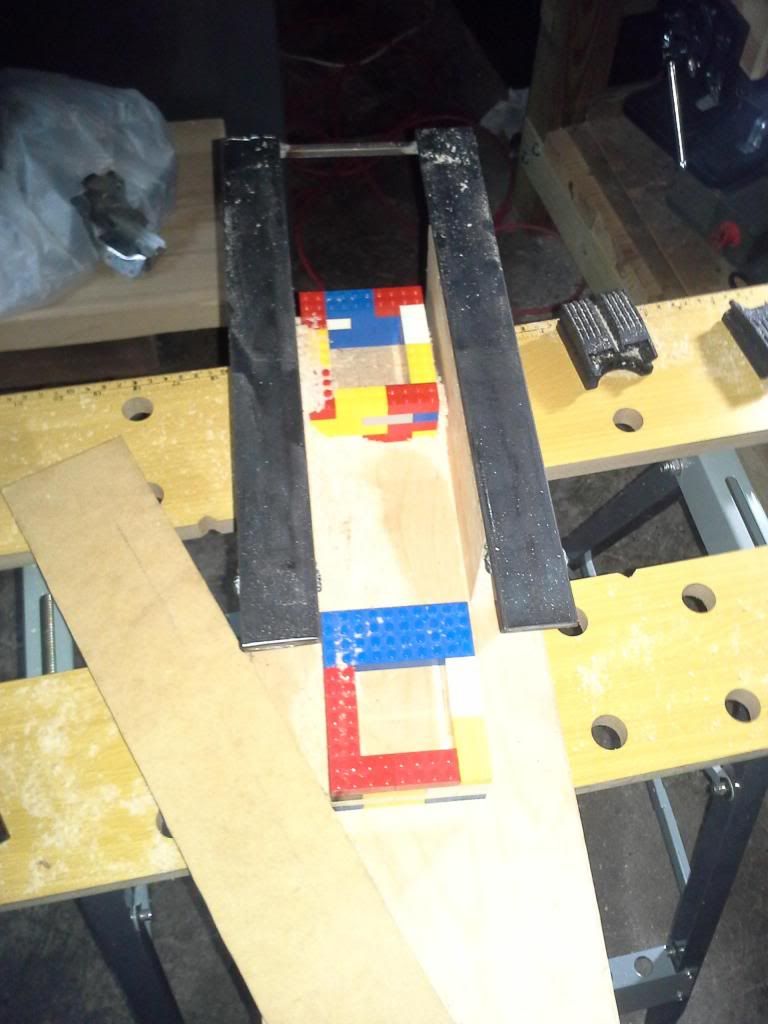
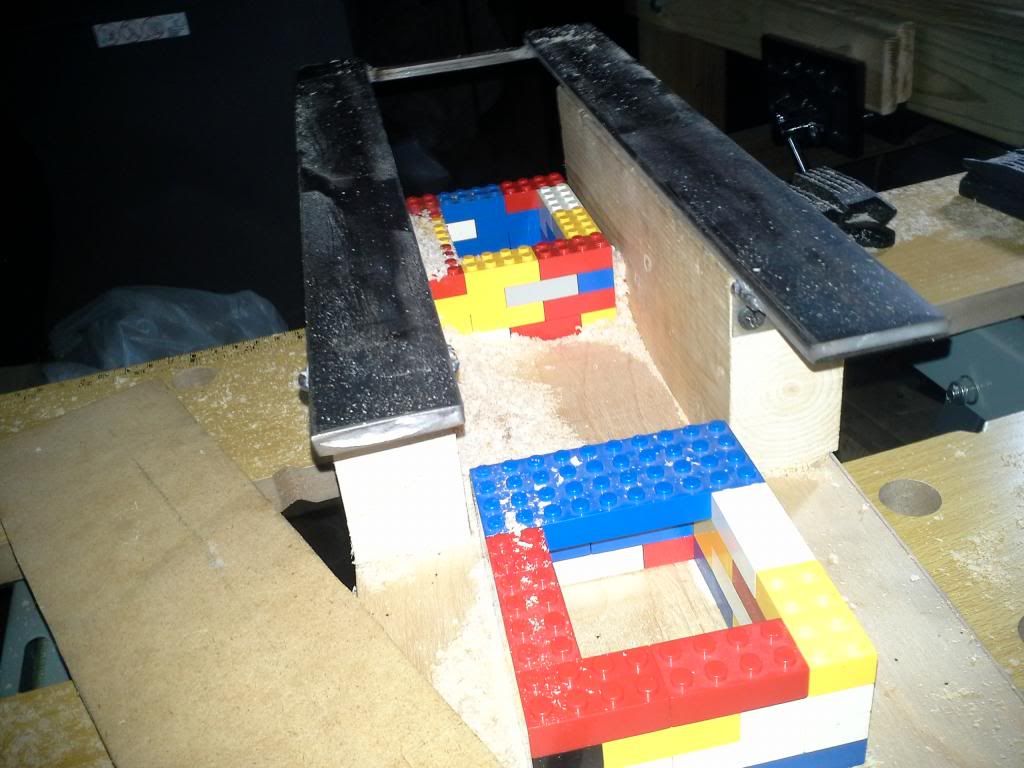
made a weird Jig.
the Lego Rock of Gibraltar
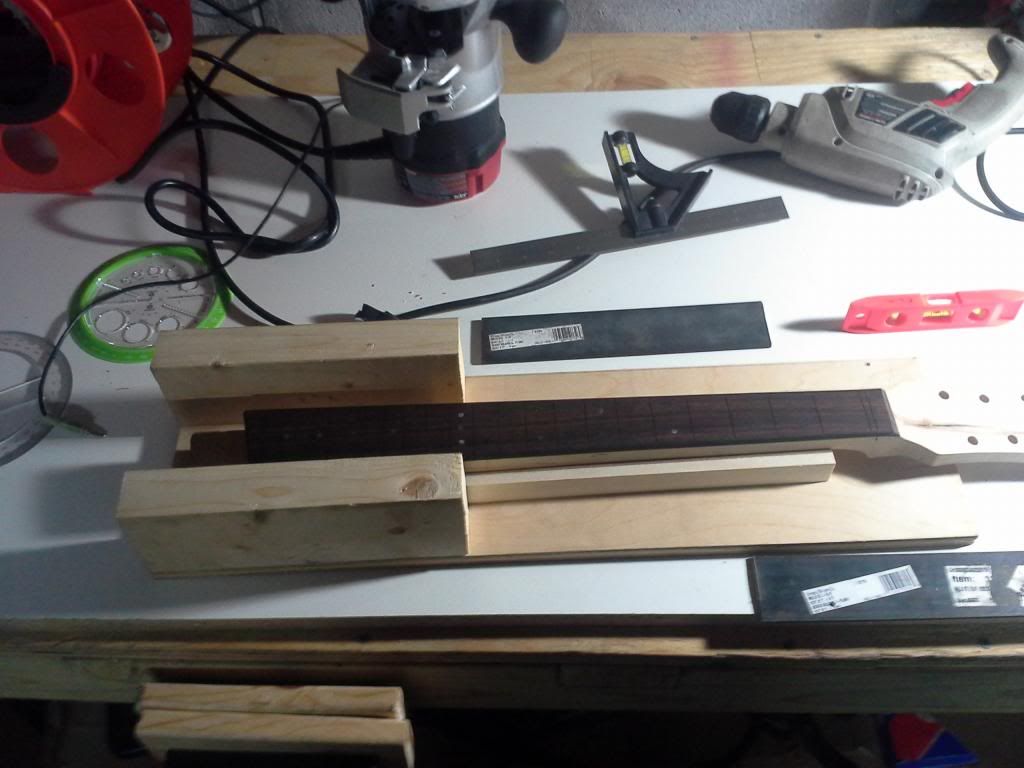
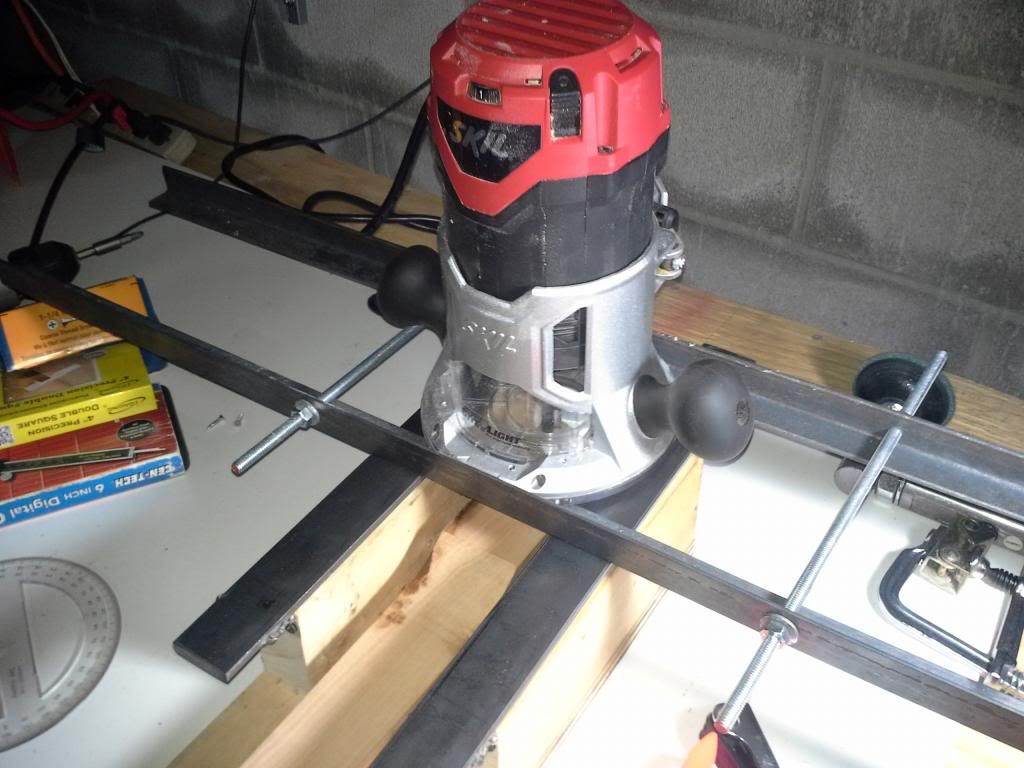
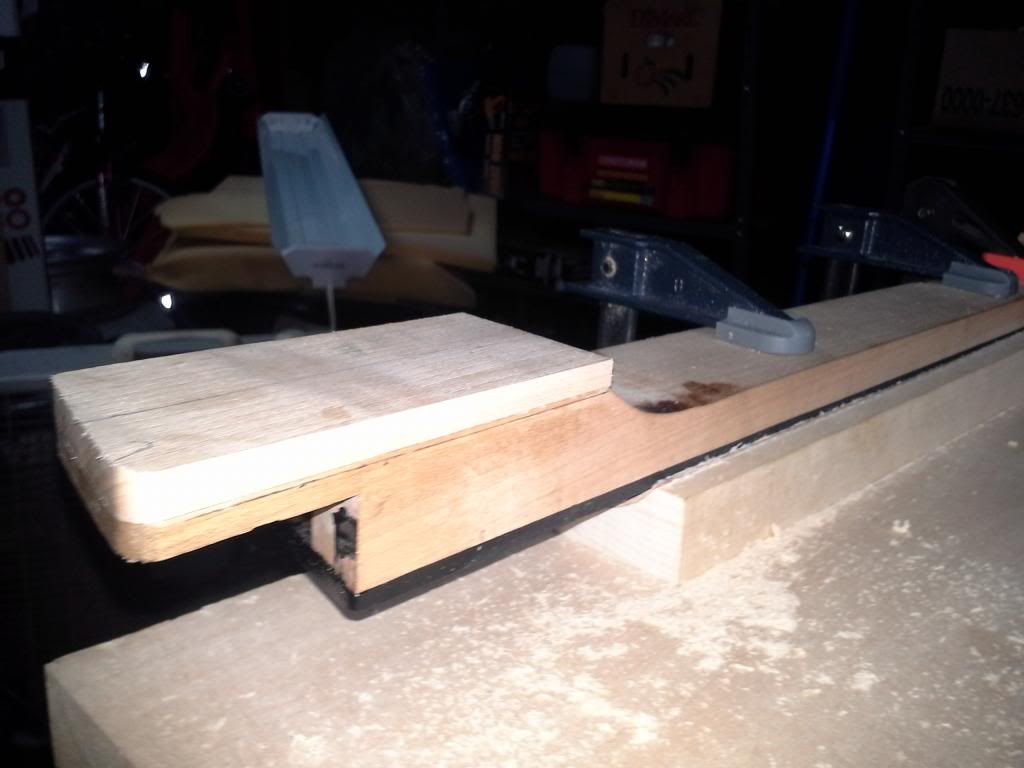
Needed something to cut an accurate angle with my router. The heel of neck keeps coming out crooked. http://www.mosriteforum.com/forum/viewtopic.php?f=20&t=6296
It was suggested by John H. in the forums that I make a Jig for that kind of job. And so I did.
This is the only jig that I could find on Google that might work for my heel. Though I dont know how the guy positioned the work piece to put an angle on it with the Router.
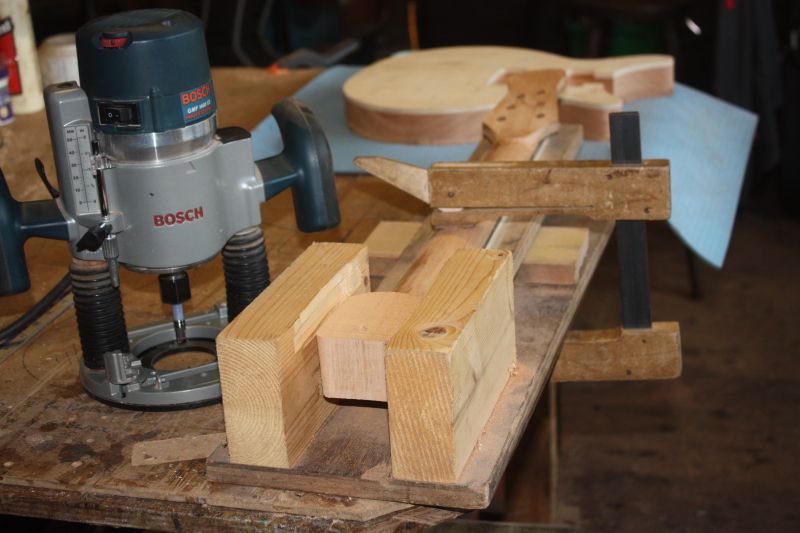
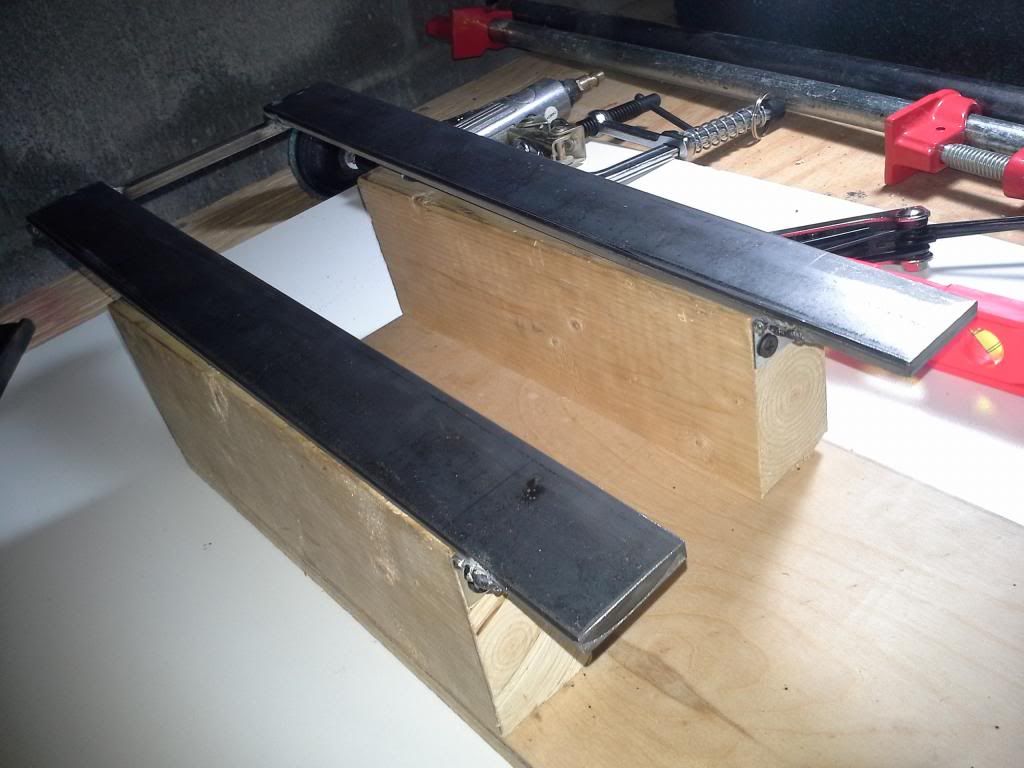
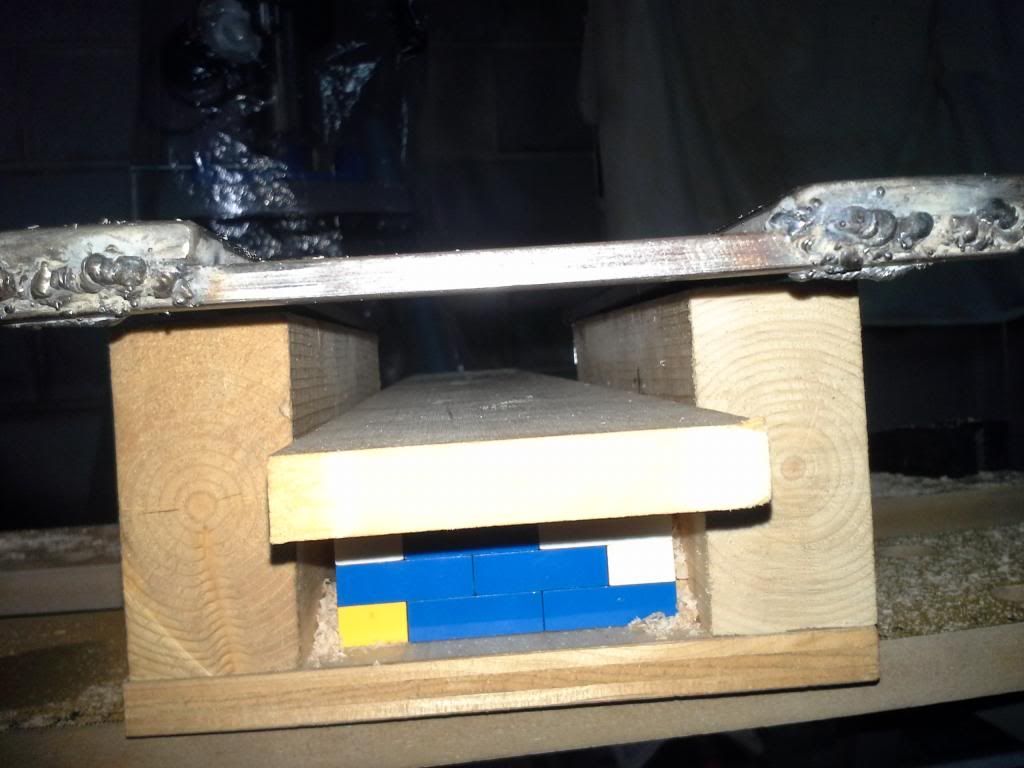
I had been looking into Micro tilts lately and so T nuts were on my mind. I decided to tweak the design abit and make adjustable rails that would allow me to move the router at any angle I might need it on the neck.
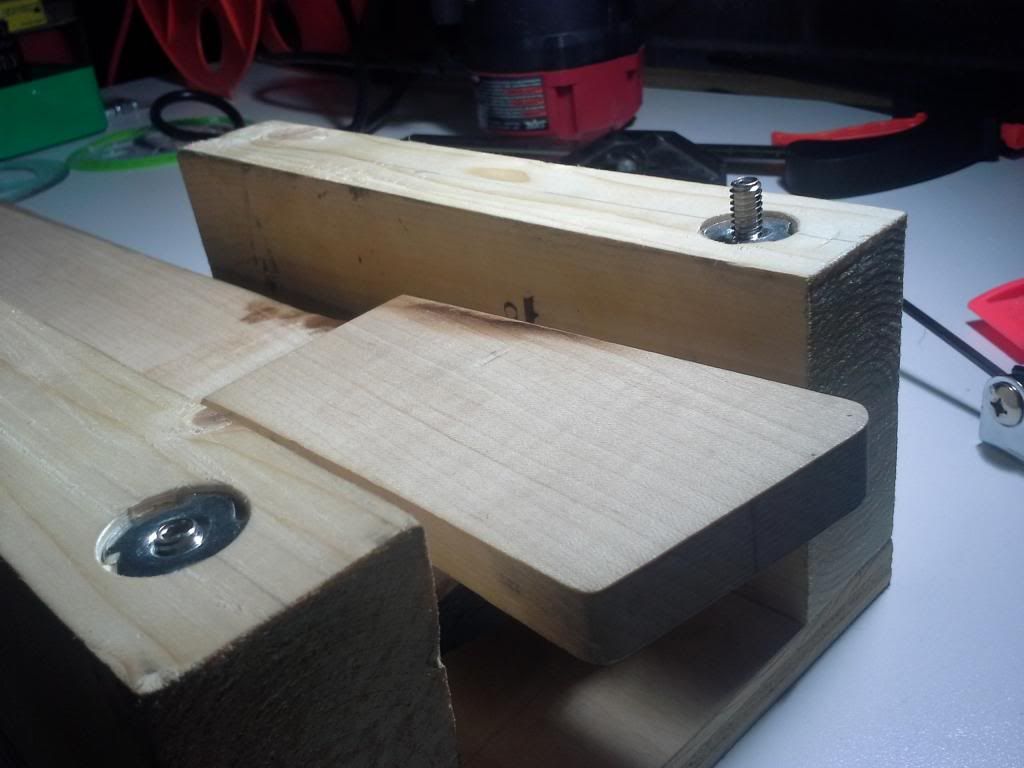
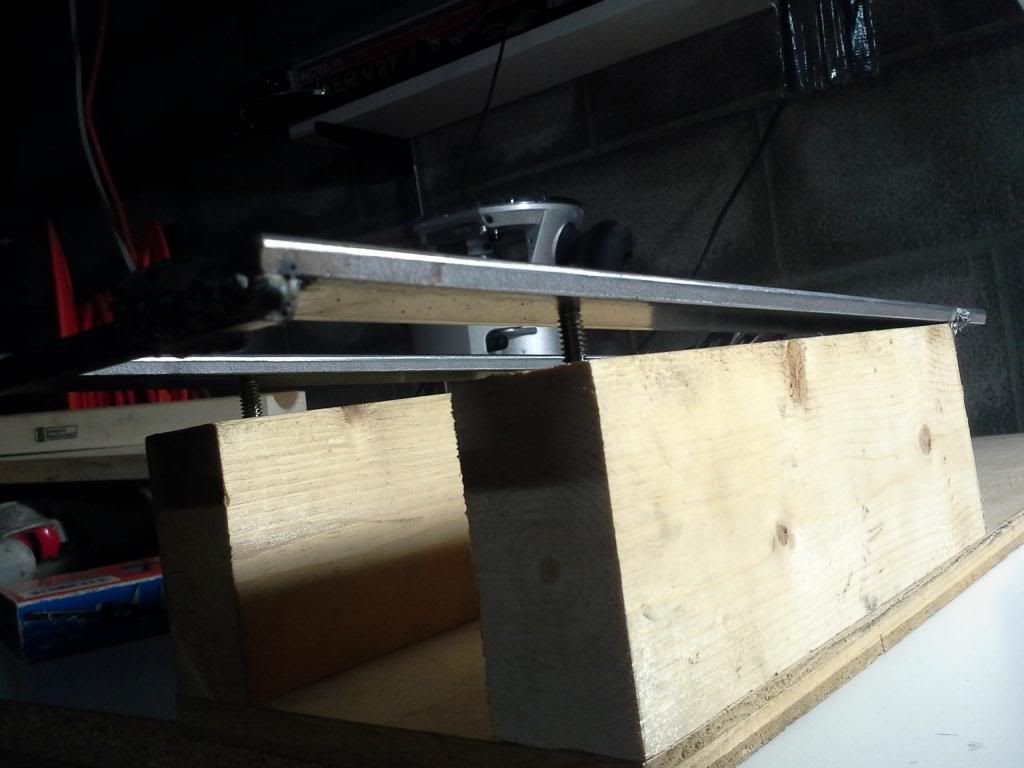
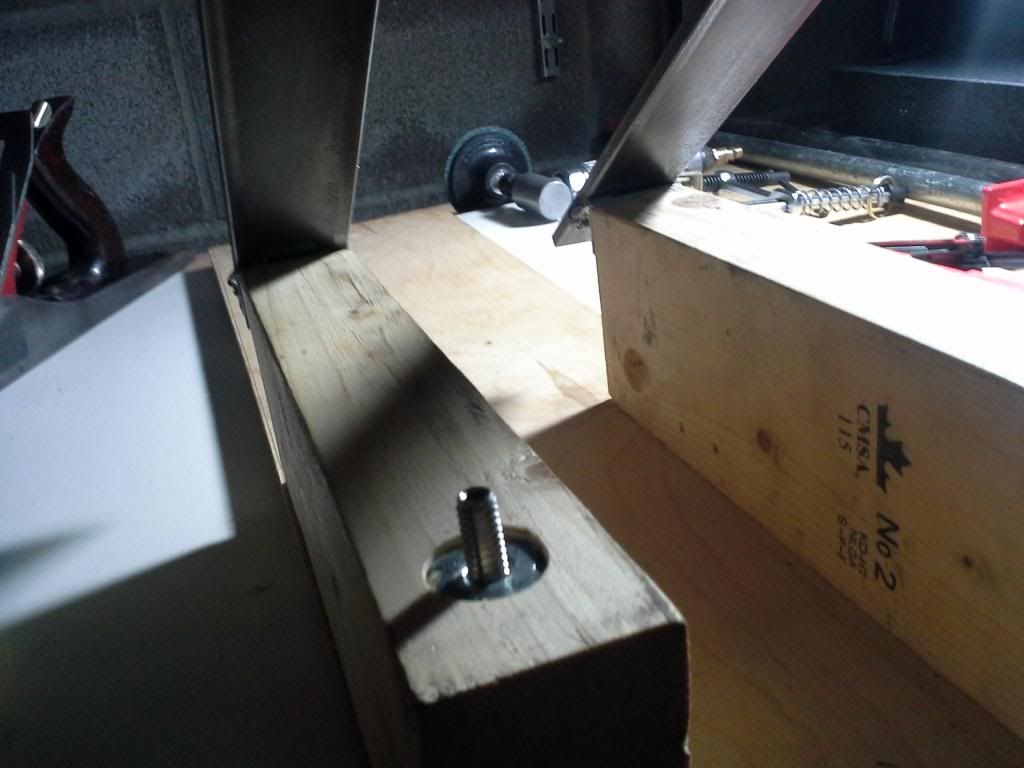

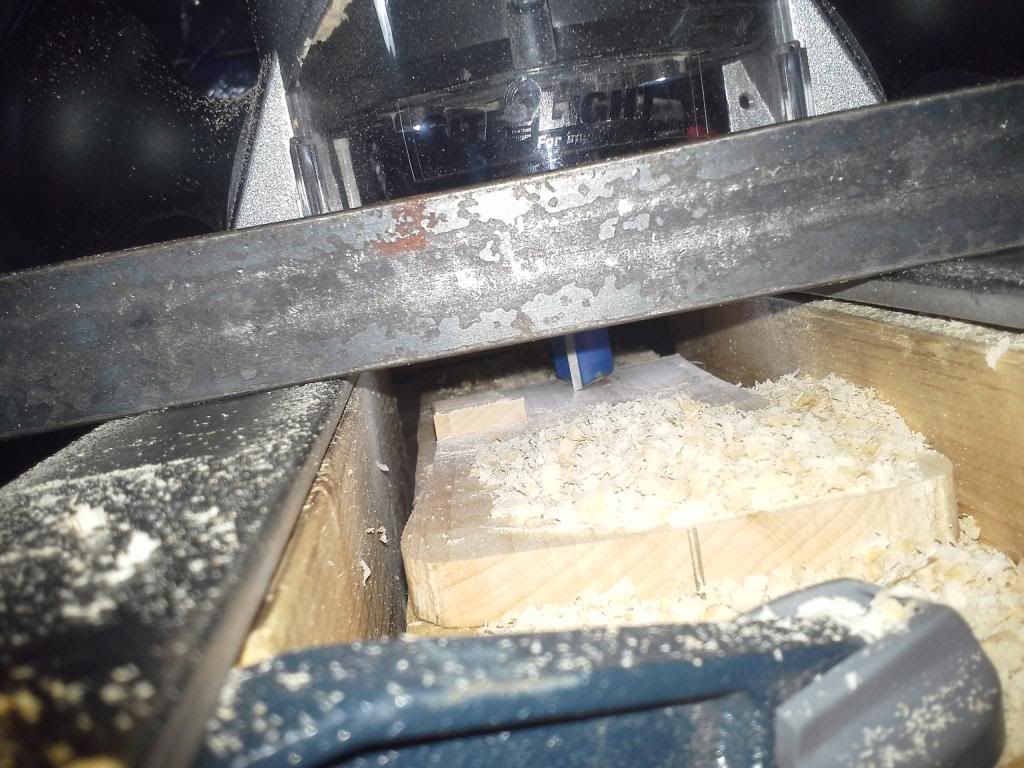
At this point I was tired and impatient. (I HATE welding with a passion) I decided to forgo testing and jumped right on to evening out the heel with my new tool. Unfortunately the clamps and double sided tape was not sufficient to keep the neck down and the heel go messed up. I did not get the heel in the 2 degree slope I wanted but I did manage to level it out flat. I re-thought my approach and decided that I can make the bottom of the heel out of a small manageable scrap piece of maple and glue it to the bottom of my neck.
Also I needed a completely stable platform that I can move up and down to position the work piece close to router's blade. Hmmmm. Something that doesn't move and flex that I can adjust the height of....

I remembered I have half a plastic bin of these in my basement somewhere!
The Lego platforms can be build to any height I need them to be. And they are all uniform so each platform will be the same size and the angle will remain constant. With double sided tape on the bottom these babies are like the Lego Rock of Gibraltar.
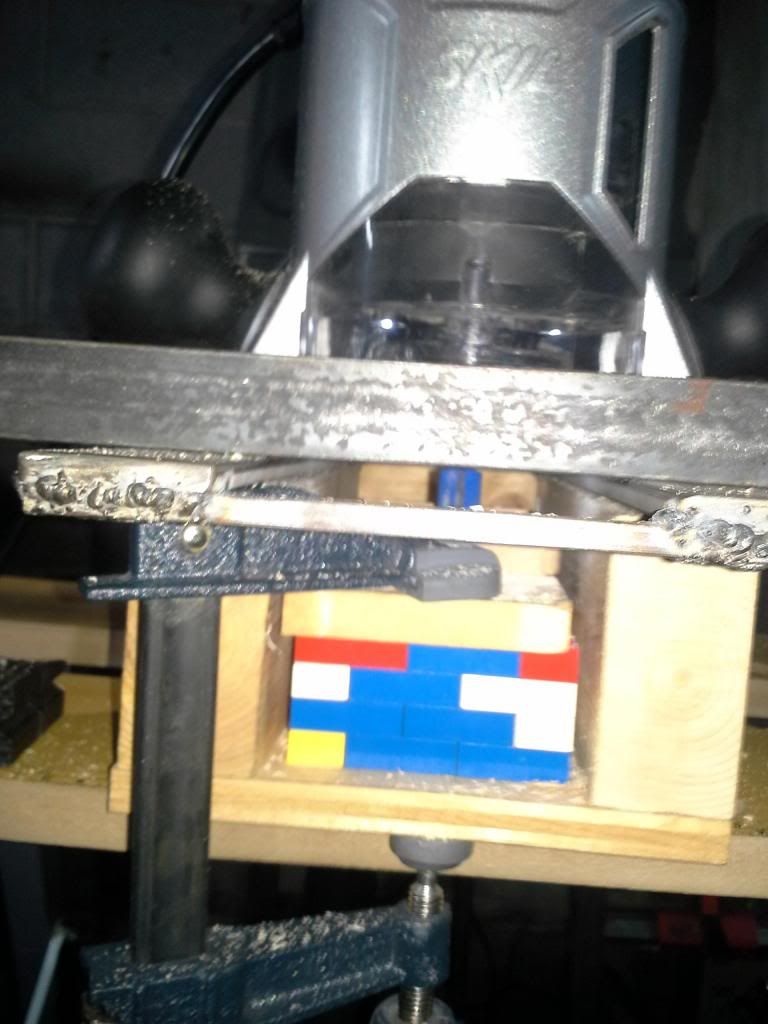
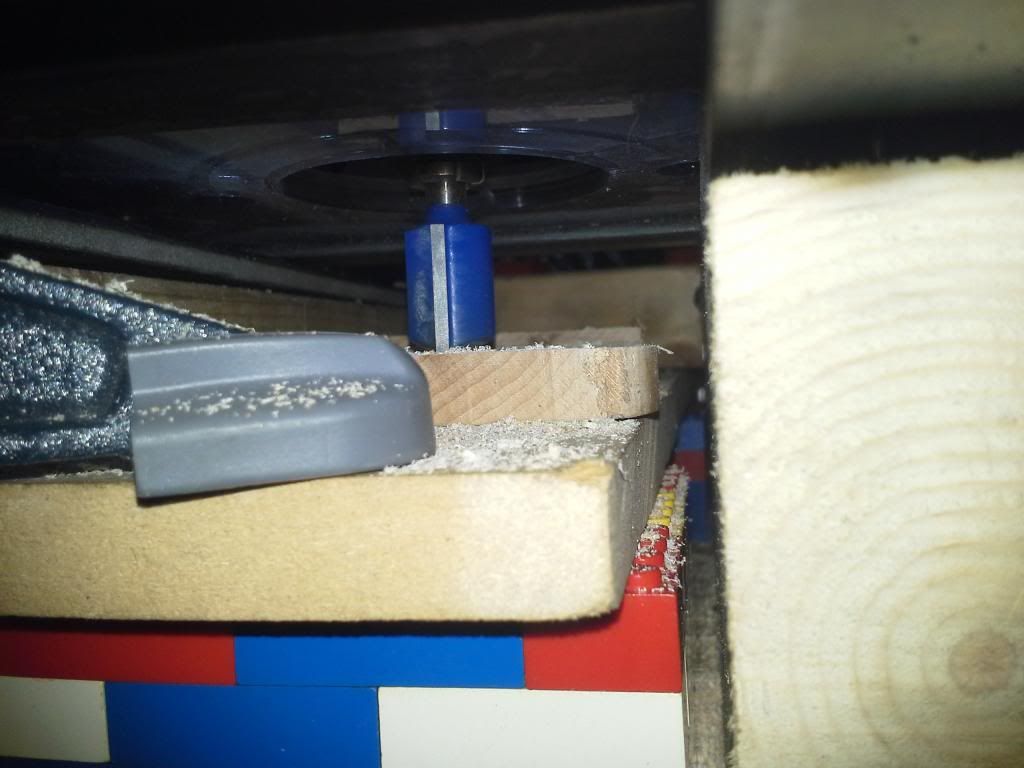
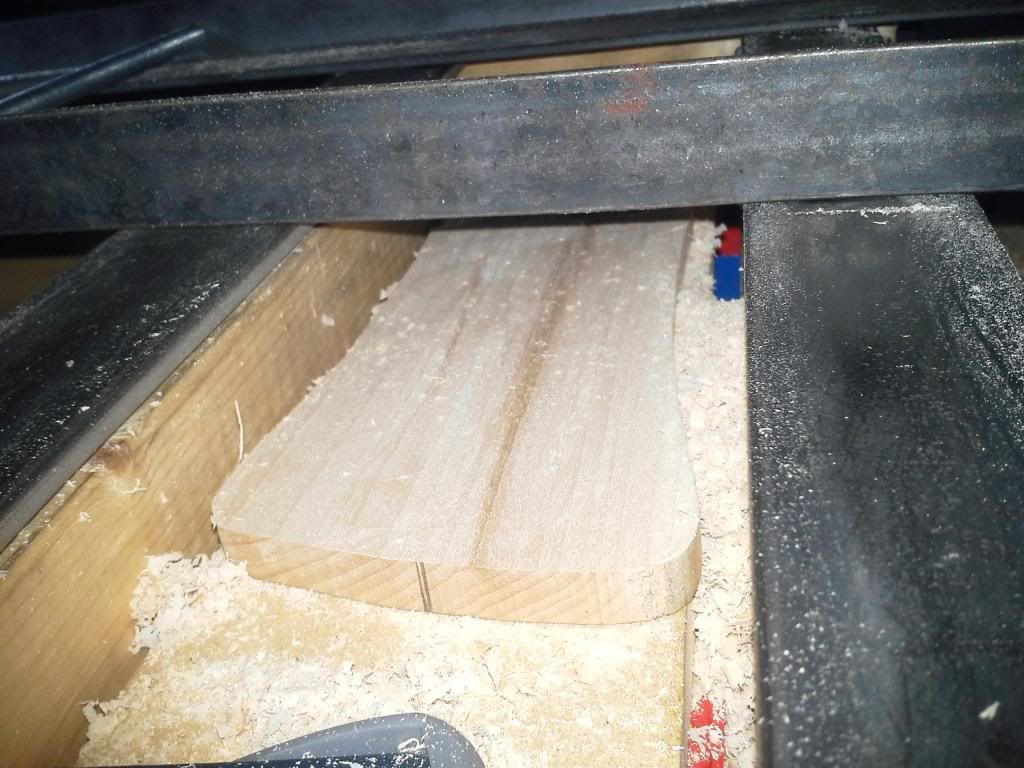
Turned out quite well the piece has a 2 degree slope to it.
If you have been following this thread you may recognize the scrap piece of Maple as the face of my Headstock which had concealed rot underneath. I HAVE BEEN WORKING ON THE GUITAR SINCE WINTER OF LAST YEAR!
Anyway here are a few more shots of "the ROCK"


I am waiting for the glue to dry so I can clean up the edges of the heel with my router

Well, I'm tired now and need to recoup. I spend more time building tools and jigs than I do making guitar parts. Have a good day everybody. I'm going to bed.
the Lego Rock of Gibraltar
Needed something to cut an accurate angle with my router. The heel of neck keeps coming out crooked. http://www.mosriteforum.com/forum/viewtopic.php?f=20&t=6296
It was suggested by John H. in the forums that I make a Jig for that kind of job. And so I did.
This is the only jig that I could find on Google that might work for my heel. Though I dont know how the guy positioned the work piece to put an angle on it with the Router.


I had been looking into Micro tilts lately and so T nuts were on my mind. I decided to tweak the design abit and make adjustable rails that would allow me to move the router at any angle I might need it on the neck.


At this point I was tired and impatient. (I HATE welding with a passion) I decided to forgo testing and jumped right on to evening out the heel with my new tool. Unfortunately the clamps and double sided tape was not sufficient to keep the neck down and the heel go messed up. I did not get the heel in the 2 degree slope I wanted but I did manage to level it out flat. I re-thought my approach and decided that I can make the bottom of the heel out of a small manageable scrap piece of maple and glue it to the bottom of my neck.
Also I needed a completely stable platform that I can move up and down to position the work piece close to router's blade. Hmmmm. Something that doesn't move and flex that I can adjust the height of....

I remembered I have half a plastic bin of these in my basement somewhere!
The Lego platforms can be build to any height I need them to be. And they are all uniform so each platform will be the same size and the angle will remain constant. With double sided tape on the bottom these babies are like the Lego Rock of Gibraltar.


Turned out quite well the piece has a 2 degree slope to it.
If you have been following this thread you may recognize the scrap piece of Maple as the face of my Headstock which had concealed rot underneath. I HAVE BEEN WORKING ON THE GUITAR SINCE WINTER OF LAST YEAR!
Anyway here are a few more shots of "the ROCK"


I am waiting for the glue to dry so I can clean up the edges of the heel with my router


Well, I'm tired now and need to recoup. I spend more time building tools and jigs than I do making guitar parts. Have a good day everybody. I'm going to bed.
"If the women don't find you handsome, they should at least find you handy."- a wise man
-
KRamone27

- Master Contributor
- Posts: 1325
- Joined: Mon May 05, 2008 1:38 pm
- Location: Carterville, IL
- Contact:
Re: Star Swirl *** 1st build
Lmfao the guy with the sword looks like Dave Grohl!
-
cmiller0034
- Top Producer
- Posts: 221
- Joined: Tue Oct 15, 2013 1:44 pm
- Location: Louisville, Ky
Re: Star Swirl *** 1st build
Ever wonder, if anything could ever be this good again?

Yes Mr. Grohl. Yes it can.
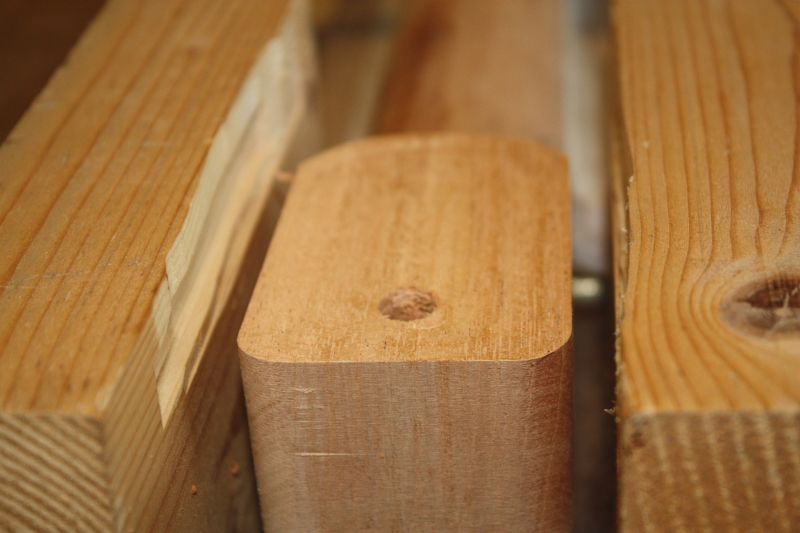
With a little glue and scrap Maple, the neck is back in shape and ready for stylin' and profilin'!


This neck's back in fighting shape!

Till next time axe warriors.

Yes Mr. Grohl. Yes it can.
With a little glue and scrap Maple, the neck is back in shape and ready for stylin' and profilin'!


This neck's back in fighting shape!

Till next time axe warriors.
"If the women don't find you handsome, they should at least find you handy."- a wise man
-
John H
- Regular Member
- Posts: 19
- Joined: Thu Jun 12, 2014 8:23 am
Re: Star Swirl *** 1st build
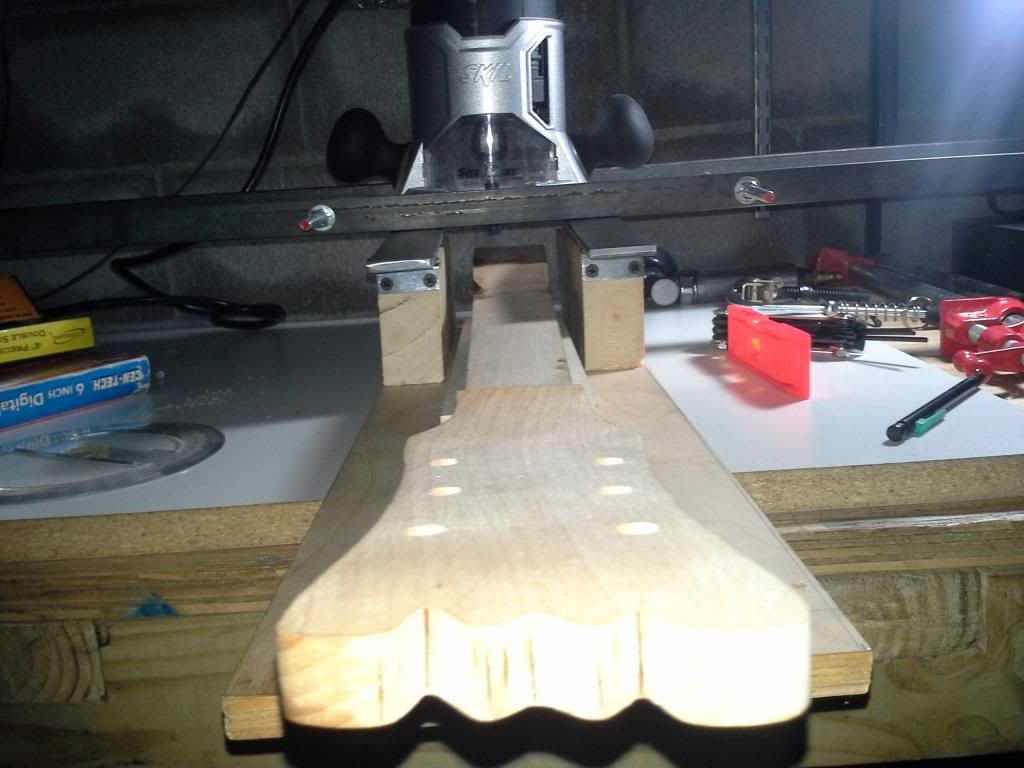
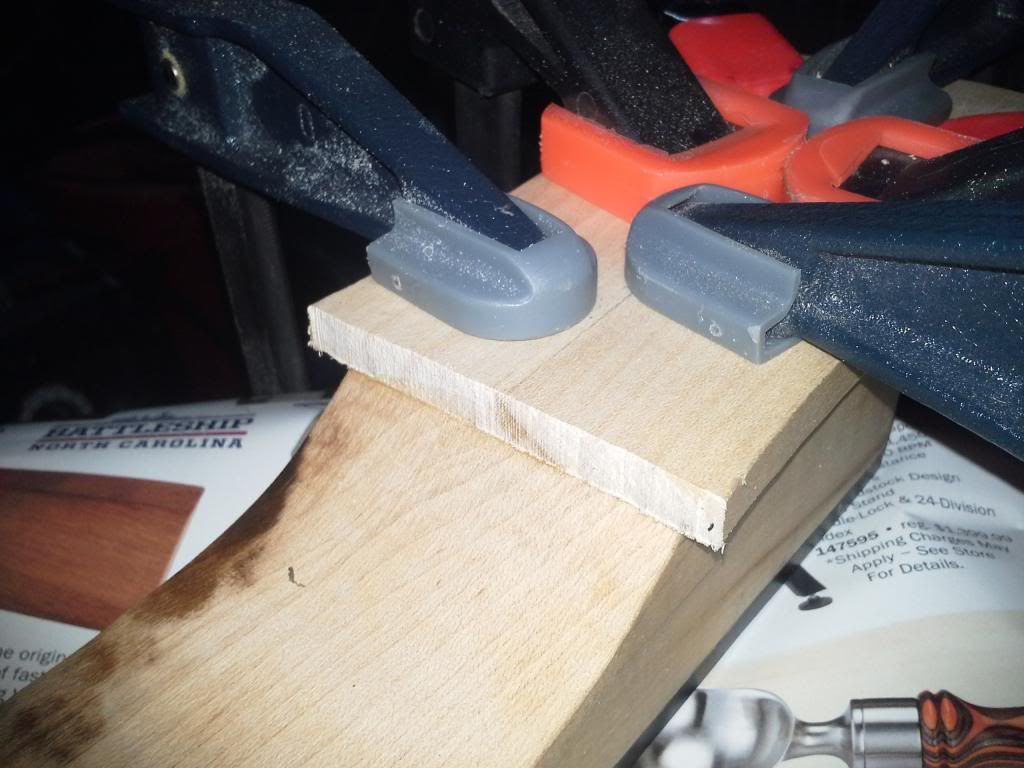
That's not quite how I do it , but you've got the right idea. My technique is pretty basic. I clamp blocks to either side, and rout away.


-
John H
- Regular Member
- Posts: 19
- Joined: Thu Jun 12, 2014 8:23 am
Re: Star Swirl *** 1st build
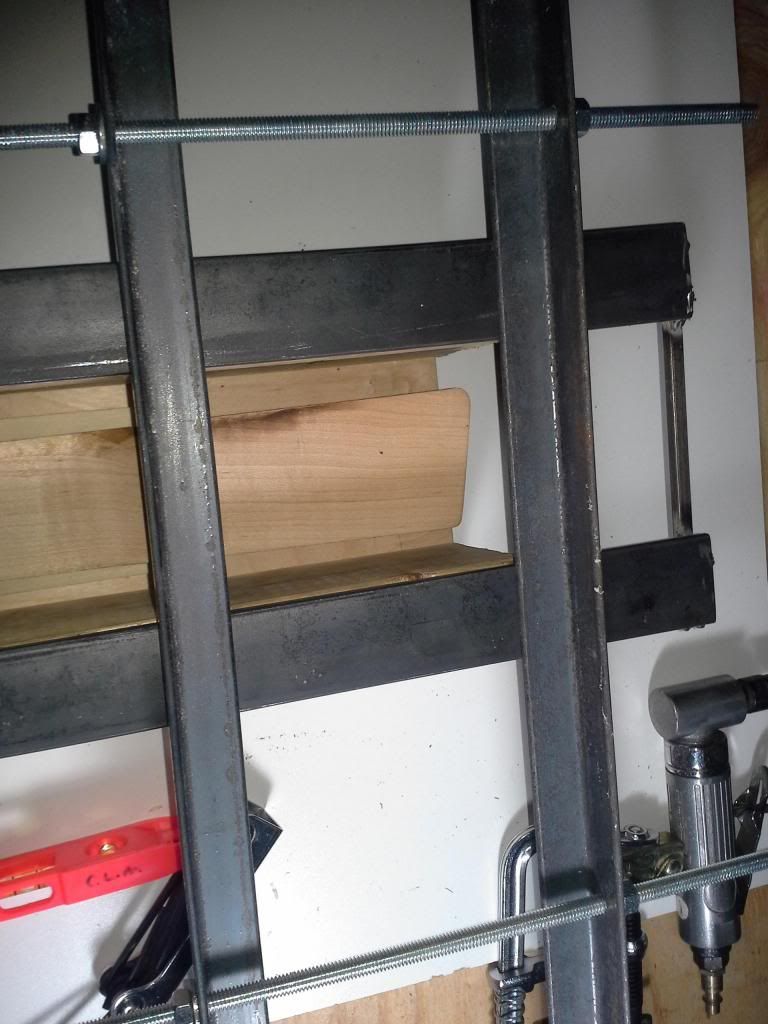
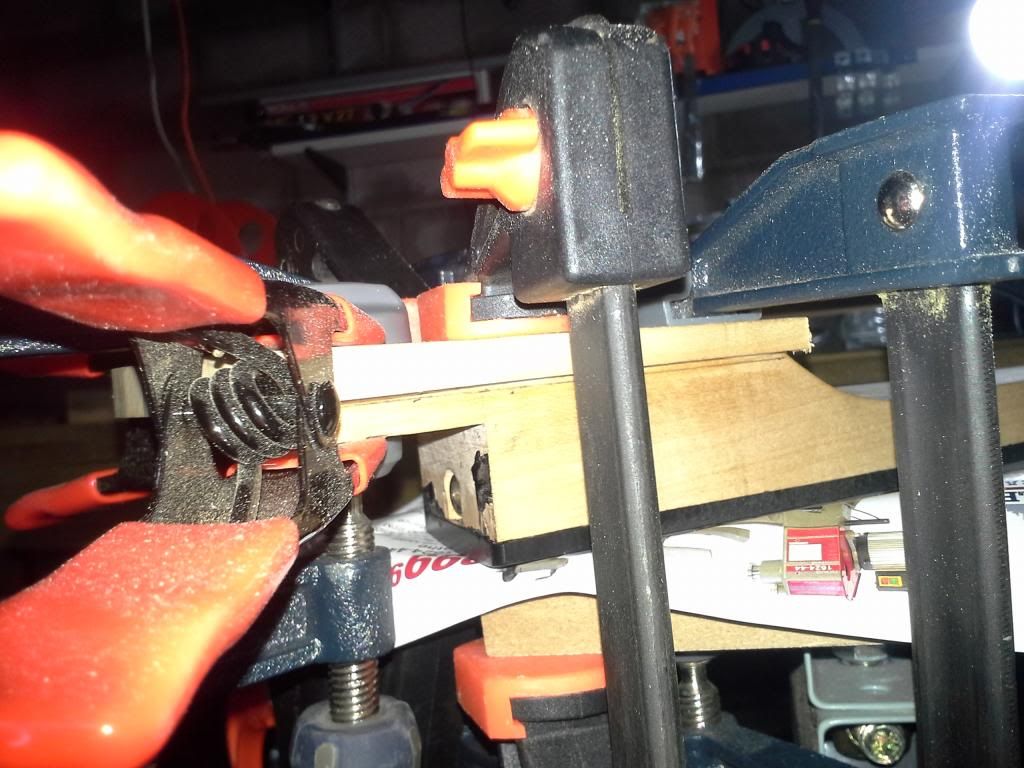
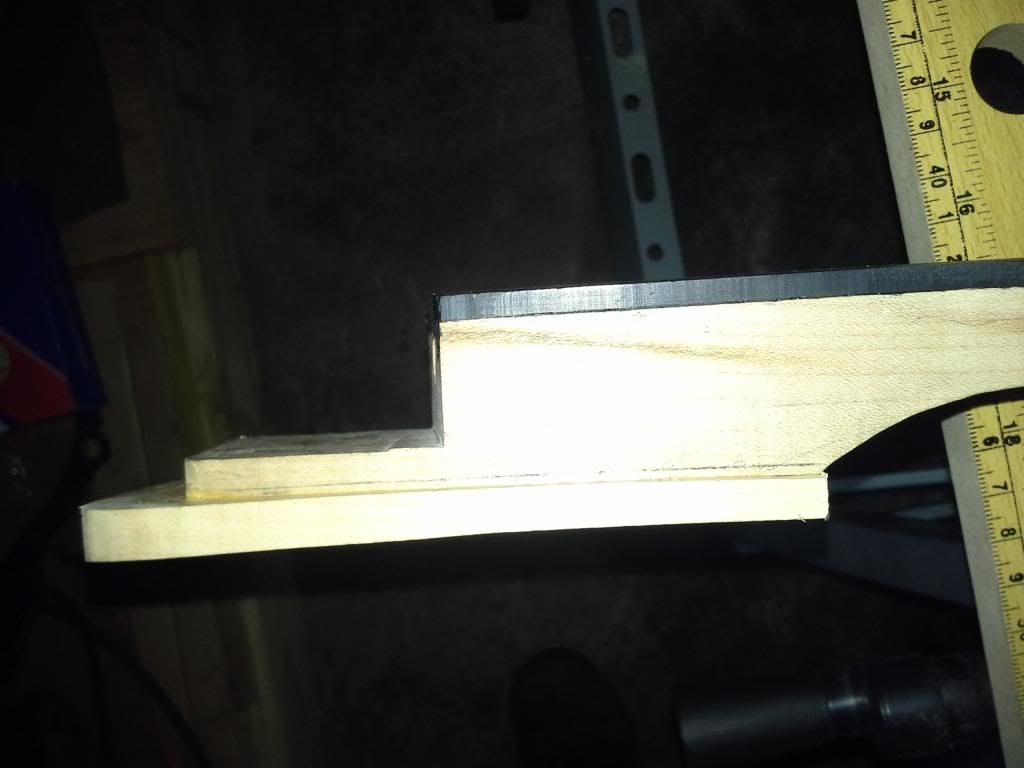
Here's a picture of a heel cut. I knew I had a better example. The first picture was a cut for a scarf joint.


-
cmiller0034
- Top Producer
- Posts: 221
- Joined: Tue Oct 15, 2013 1:44 pm
- Location: Louisville, Ky
Re: Star Swirl *** 1st build
[quote="John H"]That's not quite how I do it , but you've got the right idea. My technique is pretty basic. I clamp blocks to either side, and rout away.
Thanks John, I guess I could have gone that "Route", but then what fun would that have been?
Thanks John, I guess I could have gone that "Route", but then what fun would that have been?
"If the women don't find you handsome, they should at least find you handy."- a wise man
Return to “Mosrite & Clone, Projects, Parts & Accessories Q&A”
Who is online
Users browsing this forum: No registered users and 116 guests